How to Calculate Stockpile Volumes from Drone Data
Getting Started with Aerial Volume Measurement
Stockpile volume measurement is a common task in mining, construction, and waste management. Traditional methods involve ground surveys with total stations or GPS equipment, which can be slow and labor-intensive. Drone imagery offers a faster, more flexible alternative. By capturing overlapping photos from above, you can generate a 3D model of a stockpile and calculate its volume with good accuracy. The process requires careful planning and the right software, but the workflow is straightforward once you understand each step.
Step 1: Plan Your Flight and Set Ground Control
Before the drone takes off, decide on the area you need to cover and the level of detail required. For volume measurement, you generally want a high-resolution orthophoto and a detailed digital surface model (DSM). This means flying at a consistent altitude with enough overlap between images - typically 75% front overlap and 60% side overlap for photogrammetry. You also need to place ground control points (GCPs) around the stockpile. These are marked targets with known coordinates, surveyed with a GPS rover or total station. GCPs are essential for scaling and georeferencing the model accurately. Without them, the volume calculation may be off by a significant margin. Mark at least five points around the pile, with one or two on stable ground away from the stockpile. If you cannot survey GCPs, you can use GPS data from the drone itself, but the accuracy will be lower.
Step 2: Capture the Imagery
Fly the drone over the stockpile in a systematic grid pattern. Ensure the camera is pointed straight down (nadir) and that the lighting is consistent - early morning or late afternoon often works best to avoid harsh shadows. Avoid flying on windy days, as the drone may not hold its position well, and blurry images will reduce model quality. Take off and land from a safe location away from the pile. For large stockpiles, you may need multiple flights or a higher altitude to cover the whole area in one pass. The goal is to capture every part of the pile from at least two angles, so the processing software can match features across images. After the flight, check the images for clarity and coverage. If any part of the pile is missing, repeat that section.
Step 3: Process the Images into a 3D Model
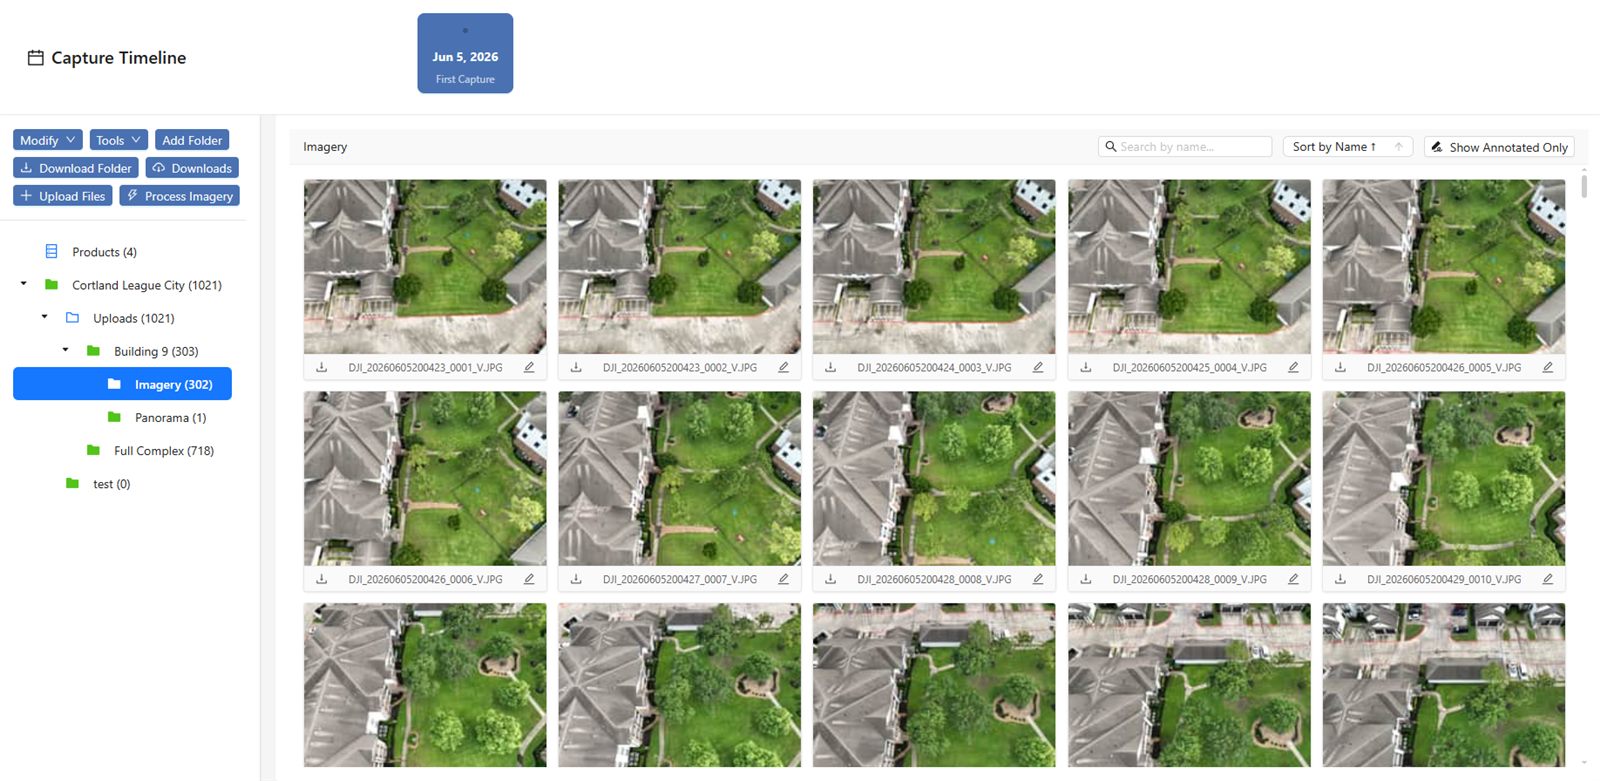
Upload the images to photogrammetry software that can stitch them together into a single orthophoto and a DSM. This software uses structure-from-motion algorithms to identify common points in overlapping images and triangulate their positions in 3D space. You will need to input the coordinates of your ground control points to georeference the model. The software will produce a point cloud, a mesh, or a raster file representing the surface of the stockpile. Check the model for holes or artifacts - areas where the software could not match images, often near the edges of the pile or where there were moving objects like vehicles. Fill small holes with interpolation if the software allows it. For large gaps, you may need to capture additional images. The result is a digital surface model that shows the elevation of every point on the pile.
Step 4: Define the Base of the Stockpile
Volume is calculated as the difference between the surface of the stockpile and a reference plane, usually the ground level. You need to define that reference plane accurately. If the ground around the stockpile is flat and stable, you can set a single elevation value as the base. If the ground slopes or has irregularities, you need to create a digital terrain model (DTM) of the ground surface before the pile was placed, or use points around the pile's perimeter to define a triangulated surface as the base. The harder part is when the pile sits on uneven ground or against a wall. In those cases, you may need to manually edit the base surface to exclude areas that are not part of the stockpile, such as adjacent structures or vegetation. This step has the biggest impact on accuracy. A small error in the base elevation can multiply into a large volume error for a big pile.
Step 5: Calculate the Volume and Review the Results
Once the surface model and the base are ready, the software can compute the volume. Most programs offer two methods: the average-end-area method for cross-sections, or the more common raster-based method that subtracts the base elevation from each pixel of the DSM and sums the result. The output is usually given in cubic meters or cubic yards. Check the result against a rough manual estimate if you have one - for example, a stockpile that is roughly a cone of known dimensions. If the calculated volume seems off, inspect the model for errors. Common issues include a base that is too high or too low, missing data on one side of the pile, or misaligned ground control points. You may need to reprocess the images or adjust the base surface. Most software lets you export a report with the volume, the area of the base, and the minimum and maximum elevations. Keep this report for your records.
Choosing the Right Drone Data Management Tool
Processing drone imagery for volume measurement requires software that can handle large image sets, produce accurate DSMs, and allow you to define custom base surfaces. Some tools are designed for general photogrammetry, while others are tailored for stockpile measurement. The National Drone Services drone data management platform is one option that covers the full workflow from image upload through to volume calculation and reporting. It is a platform for uploading, processing, organizing, visualizing, comparing, measuring, and sharing drone aerial data, with nationwide turnkey capture. If you are working on a large site or need to measure multiple stockpiles regularly, a platform like this can save time by automating parts of the process and keeping all your data in one place.
Practical Tips for Better Accuracy
Here are a few things to keep in mind when using aerial volume measurement in the field. First, always use ground control points if you can. GPS-only positioning can drift over a flight and reduce accuracy. Second, fly at a consistent speed and altitude. Sudden changes in height or speed create uneven image overlap, which the software struggles to match. Third, avoid capturing images when the sun is low or when there are long shadows across the pile. The software relies on texture and contrast to find matching points, and shadows can confuse it. Fourth, if the stockpile material is uniform in color (such as sand or coal), the software may have fewer features to match. In that case, place artificial markers on the pile before the flight, or use a drone with a better camera that captures more detail. Finally, always validate your results with a manual measurement on a small, known area of the pile. This gives you confidence in the overall calculation.
When to Call in a Professional
While the steps above are manageable for someone with basic drone and software skills, there are situations where it is worth hiring a service. If the stockpile is on a hazardous site, if you need high legal precision for billing or regulatory compliance, or if you do not have the time to learn the software, a turnkey capture service can handle the whole job. National Drone Services offers such a service as part of its platform. For those who prefer to do it themselves, the National Drone Services drone data management platform provides the tools to process your own data and get reliable results. Either way, aerial volume measurement is a practical skill that can save time and improve accuracy over traditional methods.
National Drone Services on social media
 Facebook